How It Works
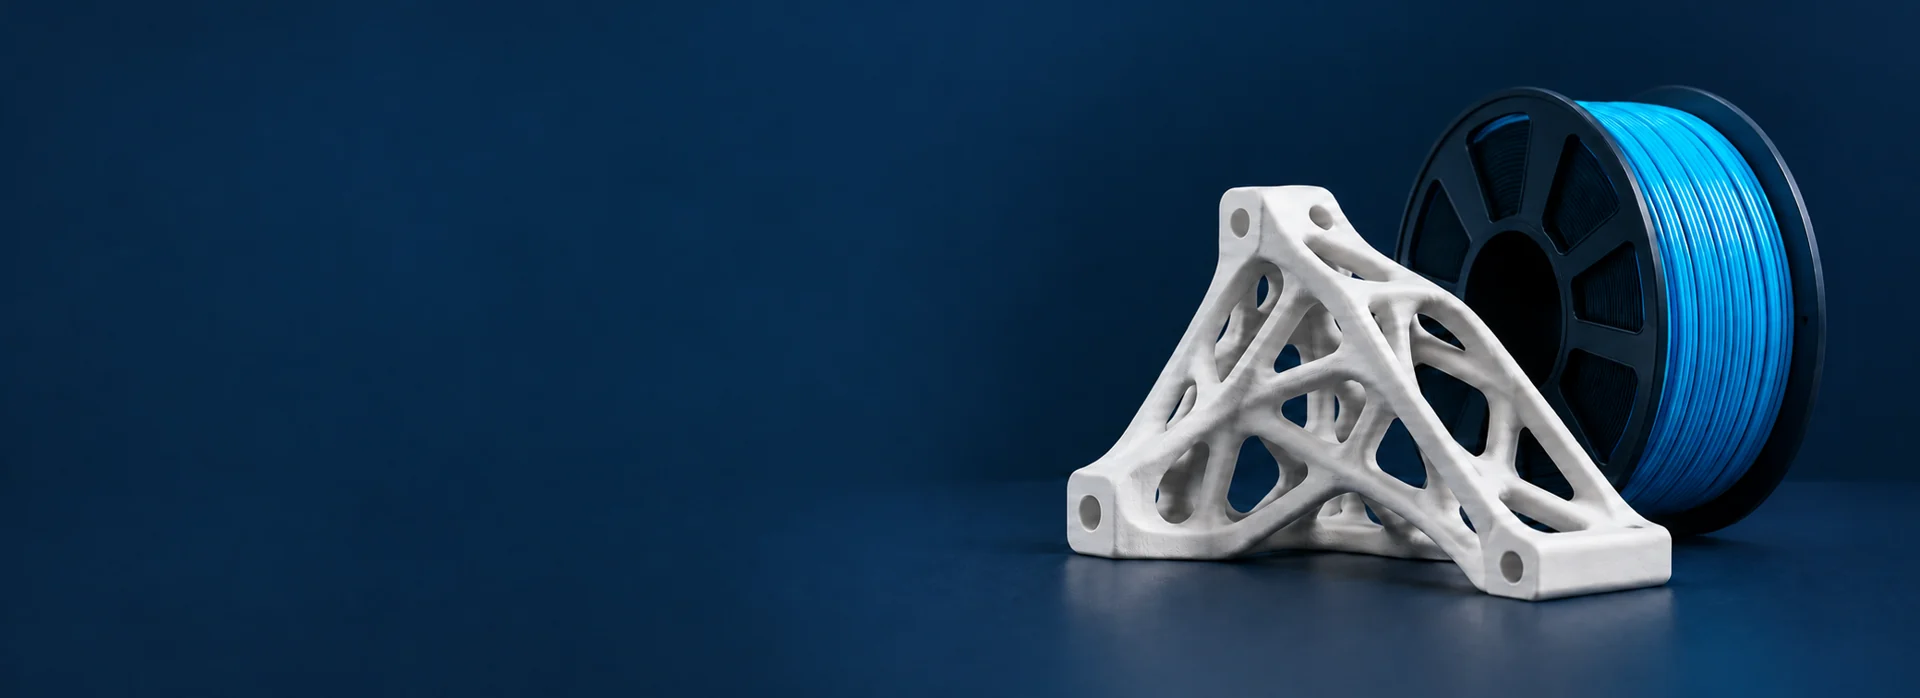
Think of 3D printing like building an object layer by layer using melted plastic. Instead of carving away material from a block of wood or metal, a 3D printer creates physical items from the bottom up, placing one thin layer of warm plastic directly on top of the previous one until the whole item is finished.
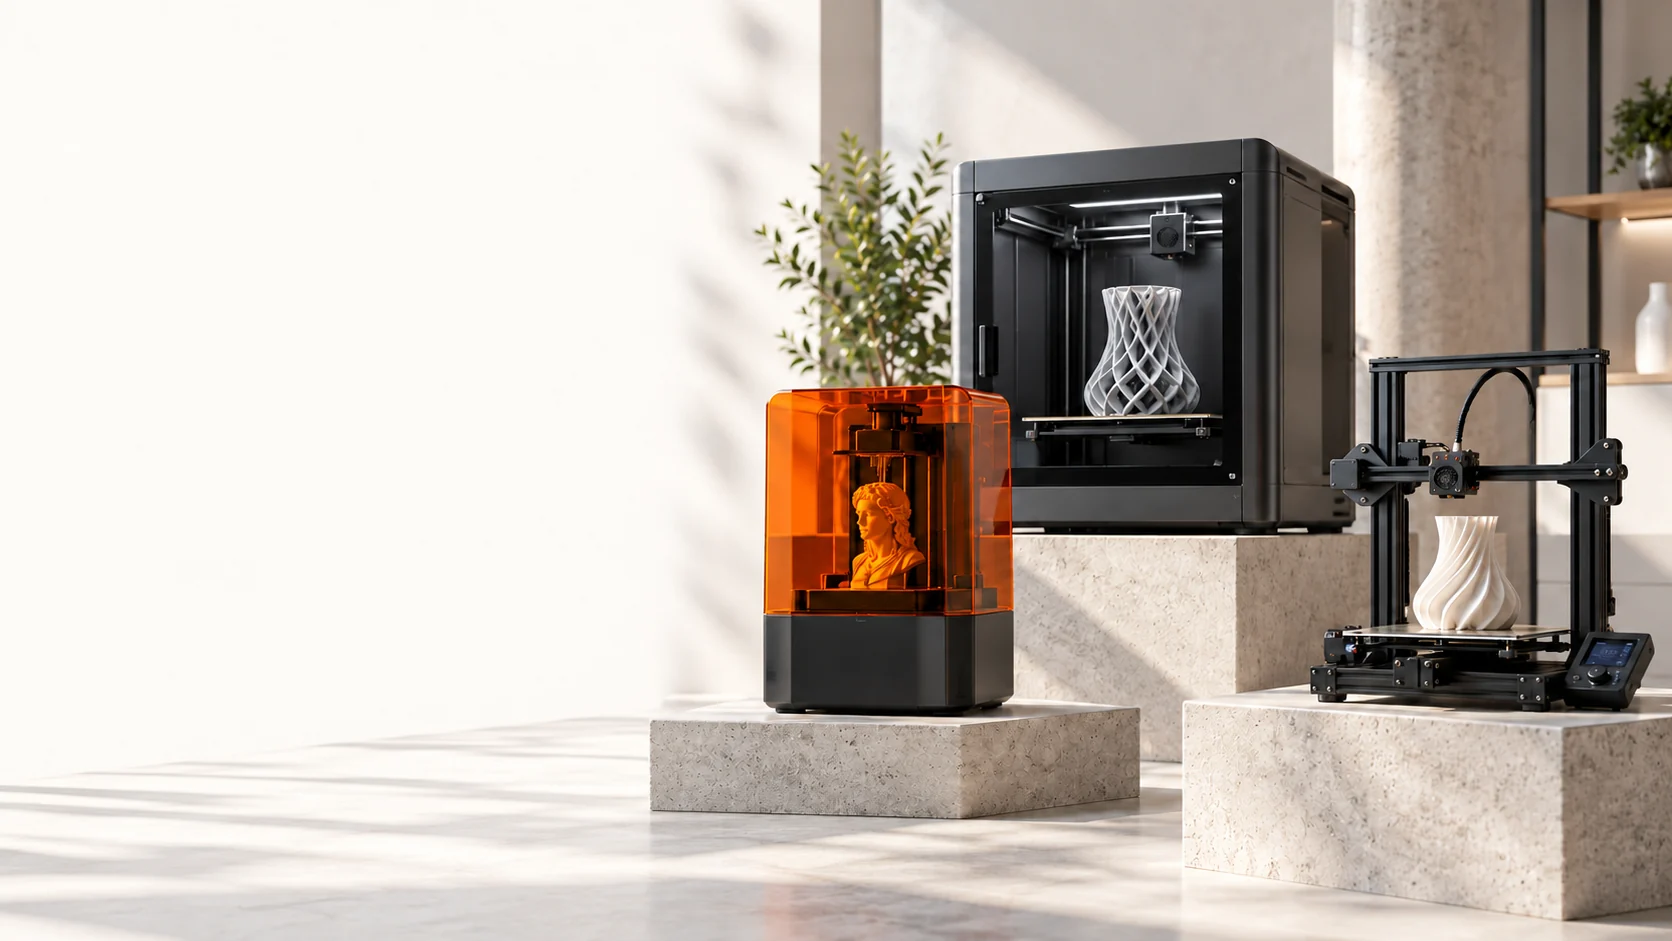
The most popular and affordable type for home and office use is FDM (Fused Deposition Modeling), also known as FFF (Fused Filament Fabrication). Inside the machine, a spool of plastic string called filament is pushed into a heated nozzle, melted at high temperatures (typically 190°C to 220°C), and guided by computer motors along three axes: X (left-to-right), Y (front-to-back), and Z (up-and-down).
Acquiring & Designing 3D Models
Before your printer can move an inch, it needs a digital 3D model. You do not need to be a professional 3D artist to get started. Millions of free, ready-to-print designs are available online through popular model repositories like Printables, Thingiverse, MakerWorld, and Thangs.
If you want to design your own custom parts, free beginner-friendly software makes it easy. TinkerCAD runs directly in your web browser and lets you combine simple shapes like boxes and cylinders to create real items. As your skills grow, you can graduate to free parametric tools like Autodesk Fusion or Onshape to design precise mechanical brackets and replacement parts.
Preparing Models
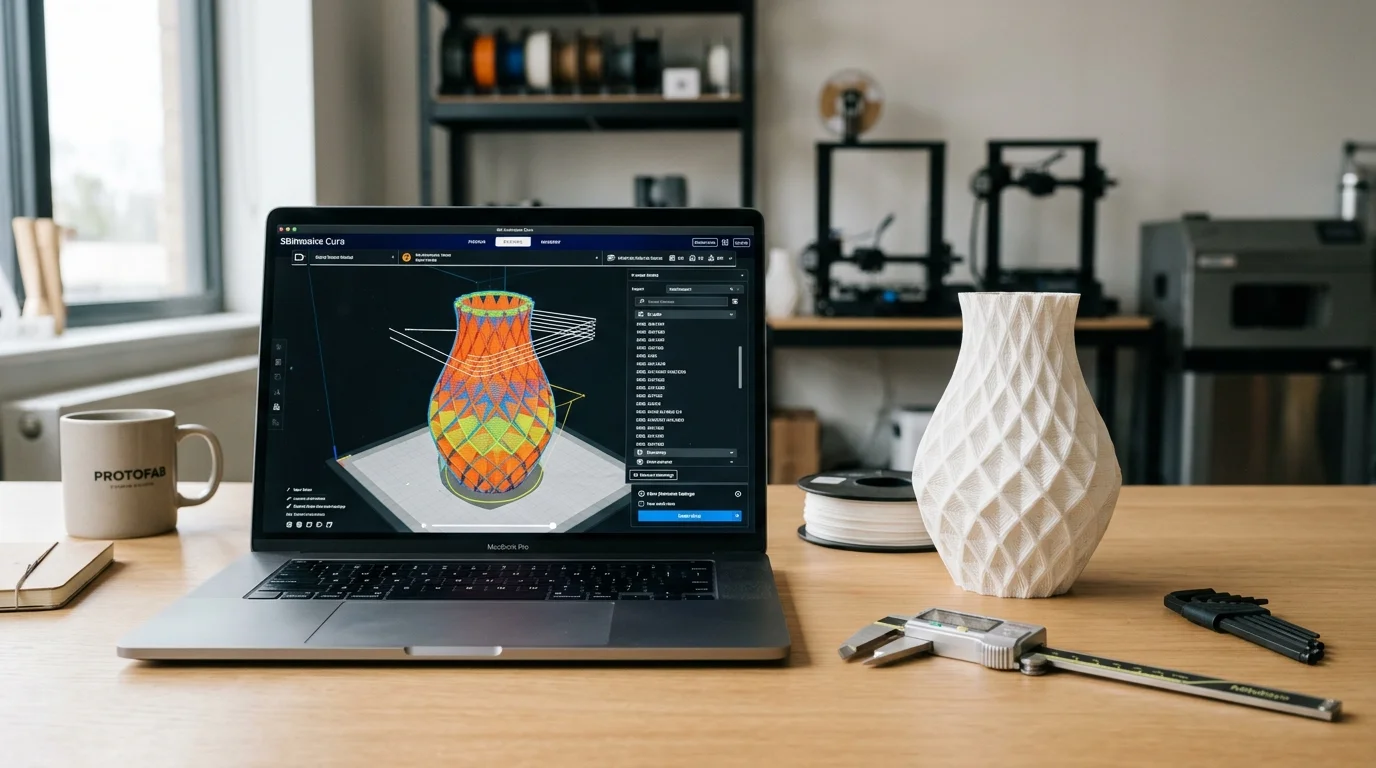
A 3D printer cannot read a standard 3D file (like an .STL, .OBJ, or .3MF) directly. You need a program called a slicer to translate that shape into instructions the machine understands.
Popular free slicers include Bambu Studio, PrusaSlicer, Orca Slicer, and UltiMaker Cura. The slicer slices your model into hundreds of flat horizontal sheets, lets you adjust infill density (how solid the inside of the part is, usually 15% to 20% is plenty), adds supports for steep overhangs, and outputs a G-code file containing precise movement and temperature commands.
Preparing the Printer
Before hitting start, spend two minutes making sure your machine is ready for action. Bed leveling is the single most important step for success. If the nozzle is too close to the build plate, plastic cannot escape; if it is too far, the first layer will detach and ruin your print.
Modern printers often feature automatic bed leveling (ABL). Ensure your build plate is thoroughly clean—fingerprint oils are the number one cause of poor adhesion. Wipe the plate with warm water and dish soap or 99% isopropyl alcohol (IPA) before printing.
Materials
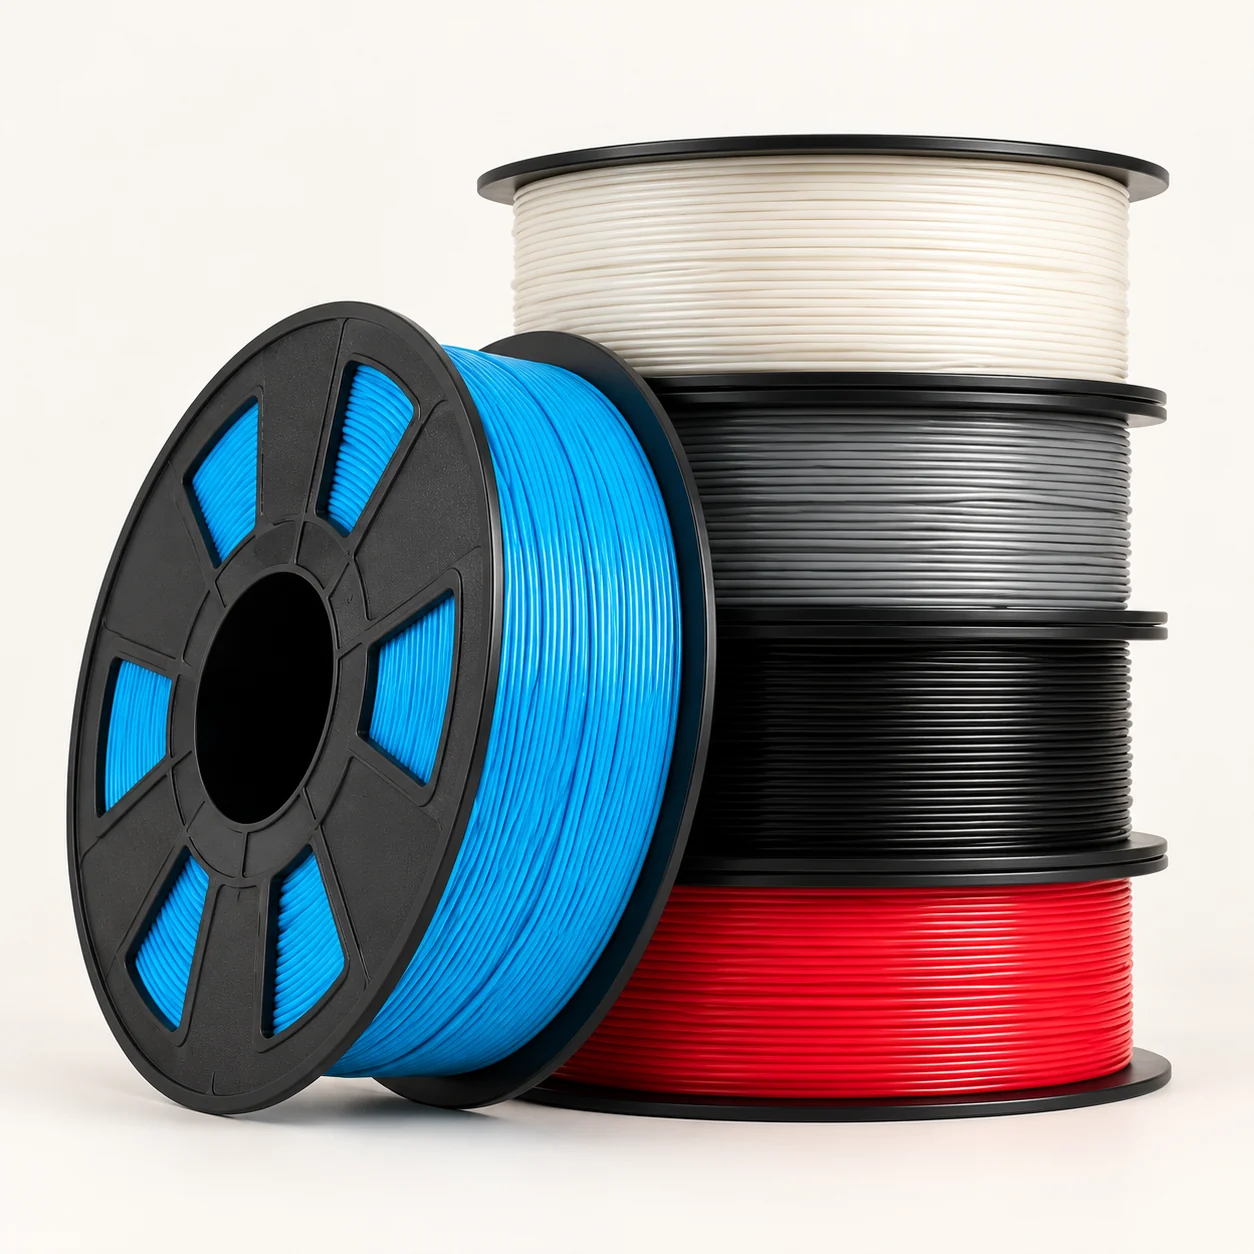
Choosing the right plastic filament makes all the difference:
PLA (Polylactic Acid): The best filament for beginners. It prints easily at 190°C–215°C, does not warp, emits no harsh smell, and is made from renewable corn starches.
PETG: Tougher and more heat-resistant than PLA. Great for water bottles, outdoor brackets, and functional tools that need to withstand rough everyday use.
ABS / ASA: Strong and heat-tolerant, but contracts quickly as it cools. Best printed inside an enclosed chamber to prevent warping and manage fumes.
TPU: A flexible, rubber-like filament perfect for phone cases, gaskets, and vibration dampeners.
Post-Processing
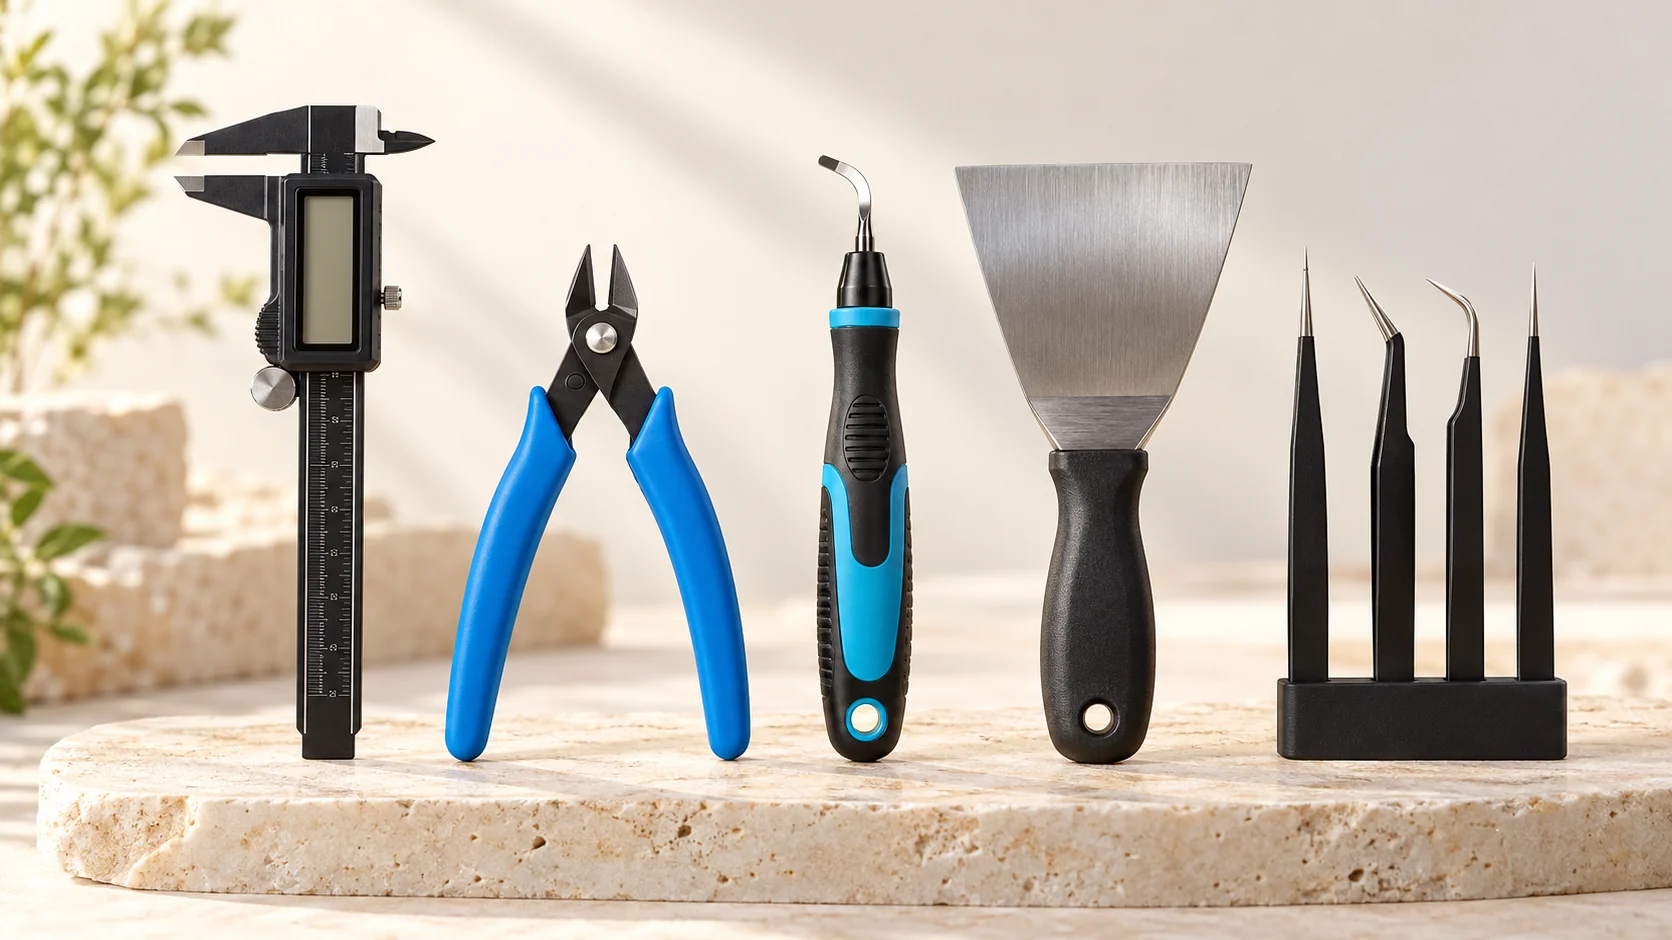
Once the print bed cools down, gently flex the spring-steel build sheet to pop your part off. If you used support material, gently twist and pull it away using needle-nose pliers or a hobby craft knife.
To achieve a smooth cosmetic finish, you can wet-sand PLA parts with progressively finer sandpaper (220 up to 1000 grit), apply plastic primer, and paint with acrylics.
Troubleshooting Tips
First layer not sticking? Re-check your Z-offset and make sure the print bed is spotless and properly heated (55°C–60°C for PLA).
Wispy plastic hairs (stringing)? Slightly lower your nozzle temperature by 5°C or increase your slicer's retraction distance.
Corners lifting up (warping)? Use a brim in your slicer settings, turn down part cooling fans for the first three layers, and keep drafts away from your printer.
Keeping It Tidy
Clean up loose purge lines, skirt rings, and clipped support pieces right after each job. Keep small brass bristle brushes nearby to clean leftover plastic off the hot nozzle tip before it hardens.
Periodically inspect the printer's motion rails: wipe off dust and apply light synthetic grease or PTFE lubricant to linear rods and lead screws every few months to keep movements whisper-quiet.
Storage
3D printing filaments absorb moisture from the surrounding air (they are hygroscopic). Damp filament causes crackling noises at the nozzle, poor layer strength, and excessive stringing.
Always store unused filament spools in sealed airtight zip-top bags or plastic storage totes with silica gel desiccant packs. If a spool has been sitting out in high humidity, dry it in a dedicated filament dryer before your next big print.